AI Assistant Documentation
1. Install AI Assistant
From WordPress
To install AI Assistant, navigate to the WordPress Dashboard >> Plugins >> Add New. Then type “AI Assistant” in the search box, click install and activate.
Via AI Assistant.zip file
Go to Dashboard >> Plugins >> Add New >> Upload Plugin.
Select the AI-Assistant.zip file you downloaded earlier and click install now. After that, activate the newly installed plugin.
2. API Key
Register with Open AI or log in with your user account to receive an API key.
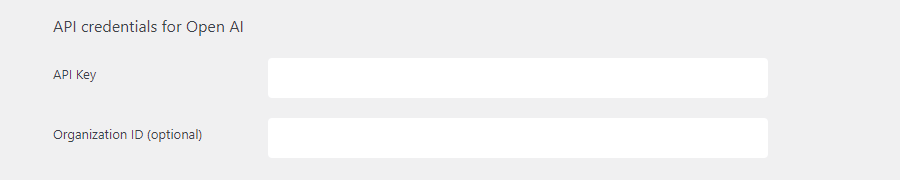
Then enter the key and optionally the organization ID of your organization here and AI Assistant is ready to use.
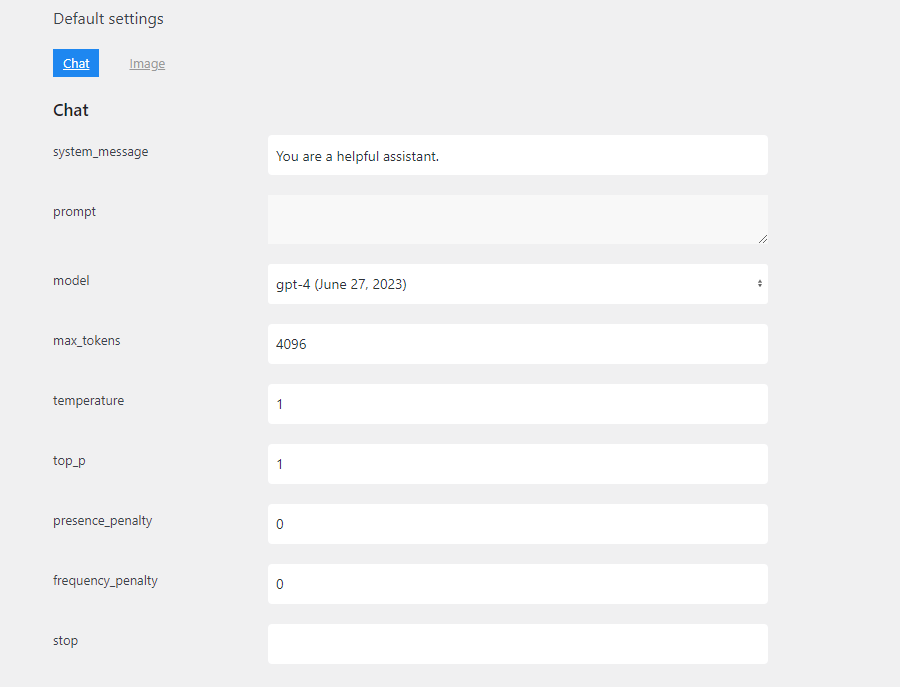
3. Default settings
Here you can define your personal default settings, which will be loaded when AI Assistant is started.
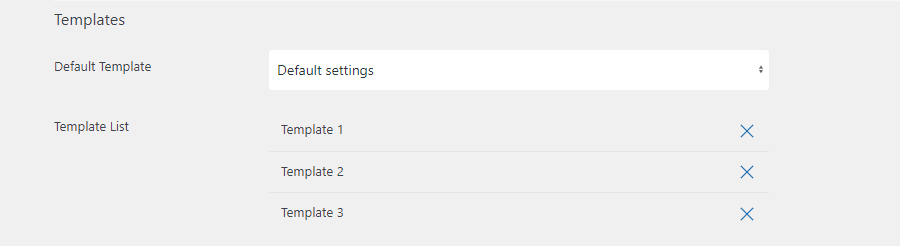
4. Templates & Variables
Templates that were previously saved in the chat window can be managed here. You can also select a default template here, which will be loaded when AI Assistant is opened.
Variables
These variables are available to use in templates:
- [[title]]
- [[content]]
- [[excerpt]]
- [[tax_XXX]] (XXX=taxonomy-slug)
- [[postmeta_XXX]] (XXX=postmeta-key)
To edit a dynamic template with variables, you must open an empty post (New post) and select the template in the AI Assistant so that the variables are not filled with data when the template is loaded.
The template can then be edited and saved under a new name. Updating is not possible. Templates can only be deleted in the settings. There is currently no other editing mode for templates.